Assembling the Facade Elements Unpacking the Facade Pieces
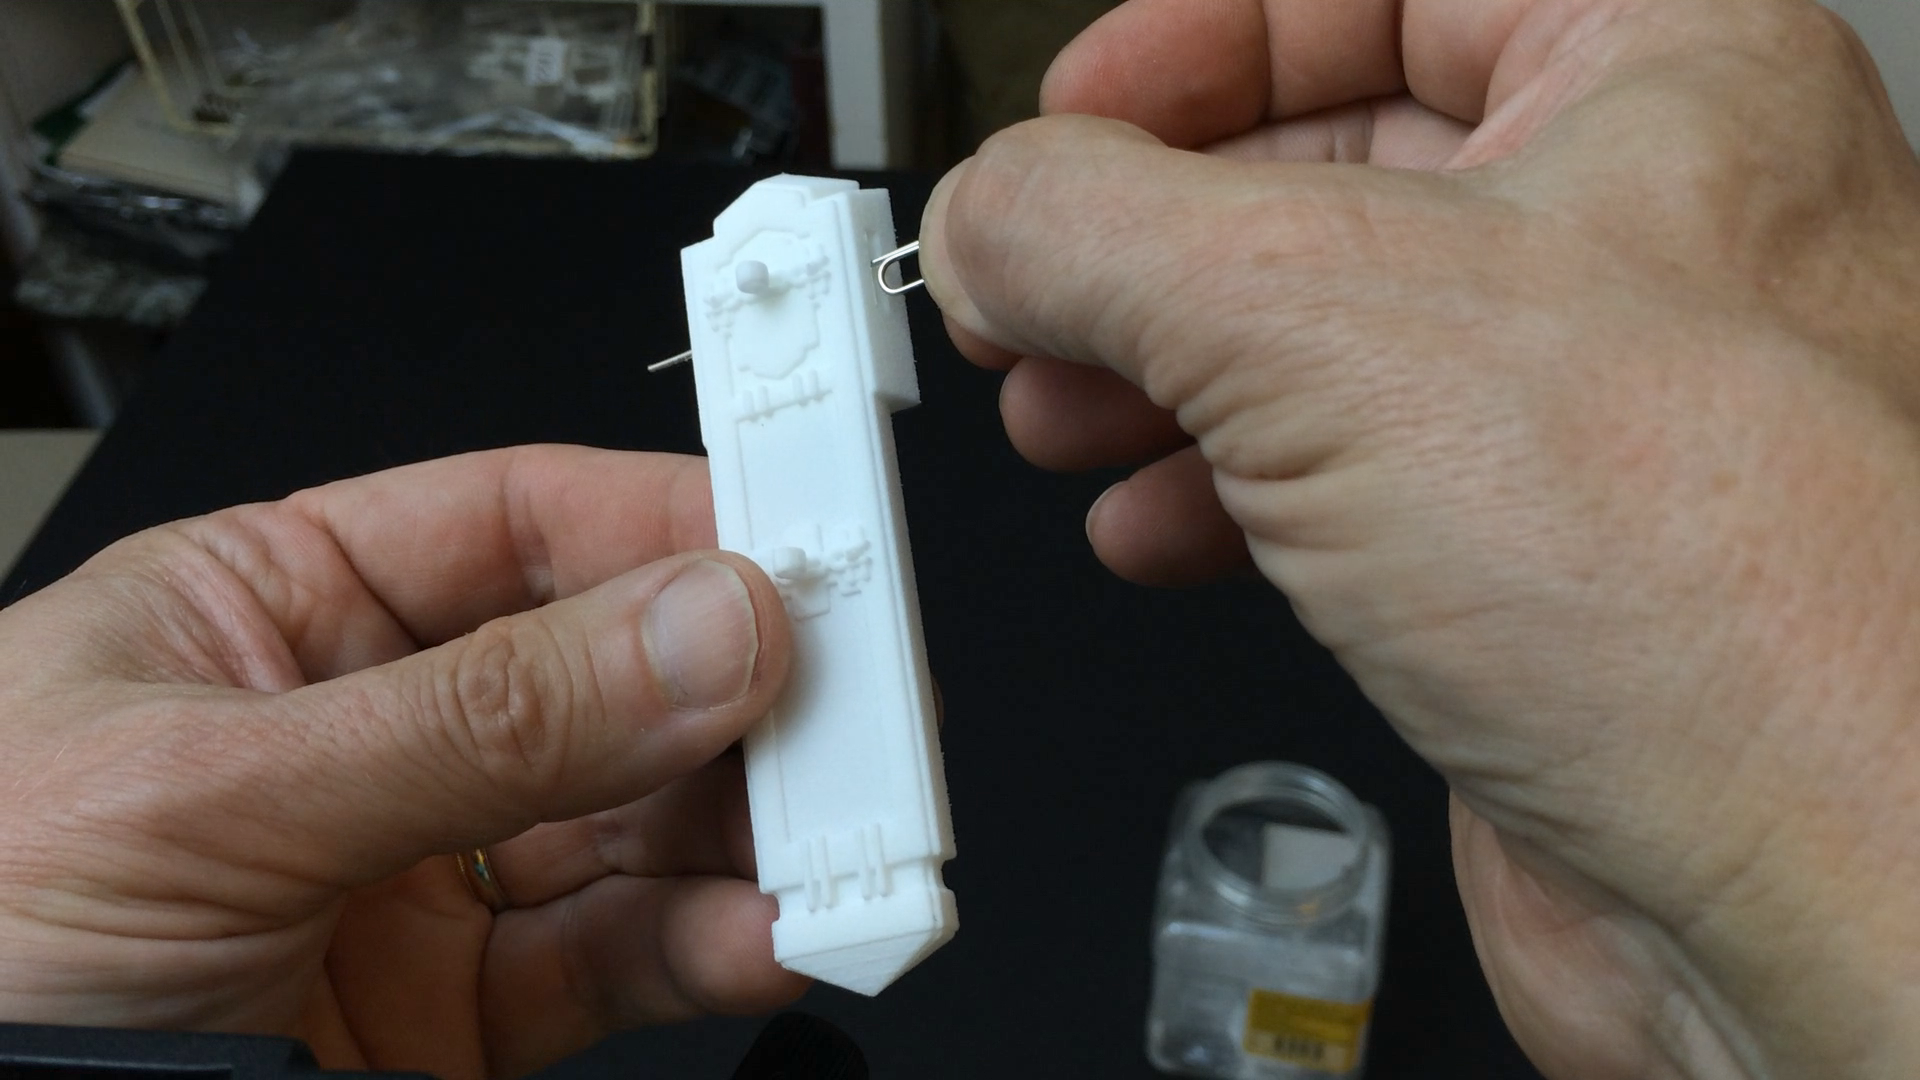
Cleaning
out powder from around the stanchions
Once the parts have been cleaned, you are ready to assemble them. Make sure your hands are clean, as the material is very good at picking up oil and dirt from you hands. Assembling
the Facade Pieces
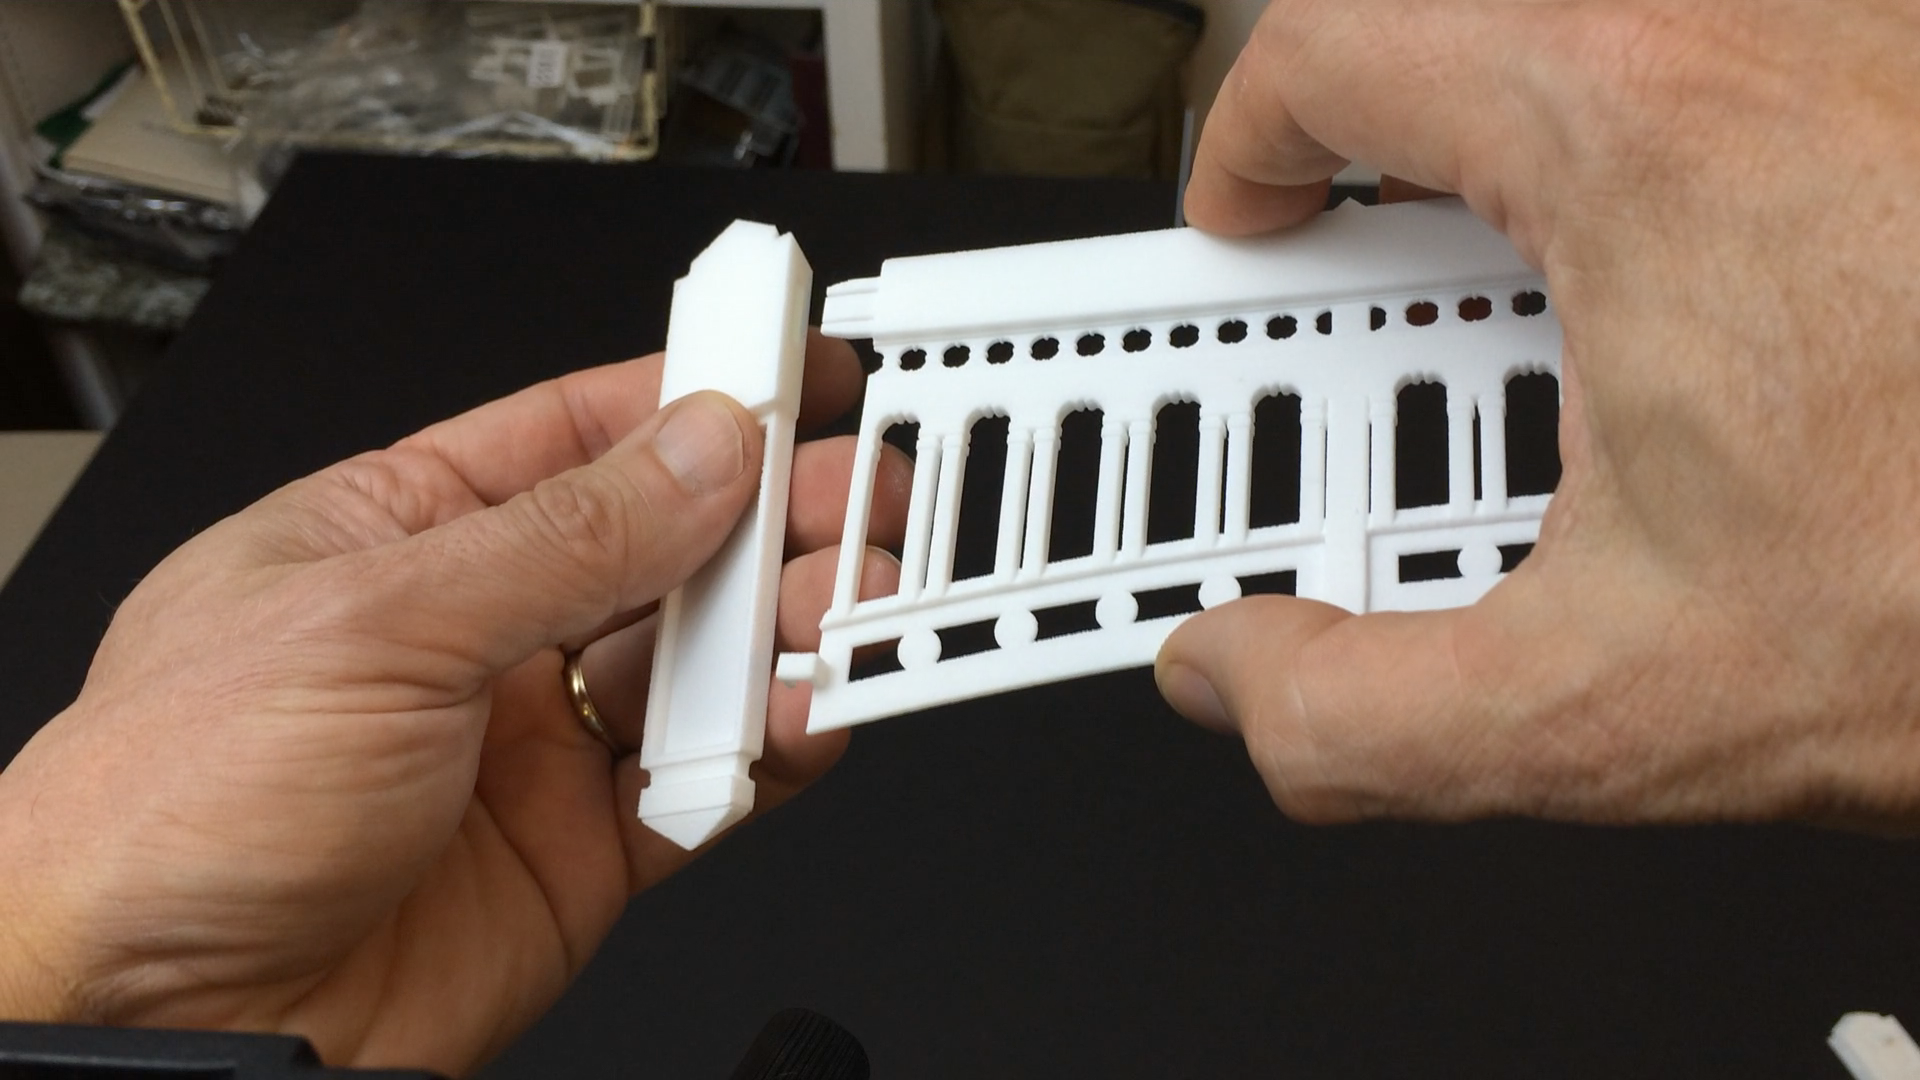
Hold a stanchion piece in one hand a trellis piece in the other (see image).
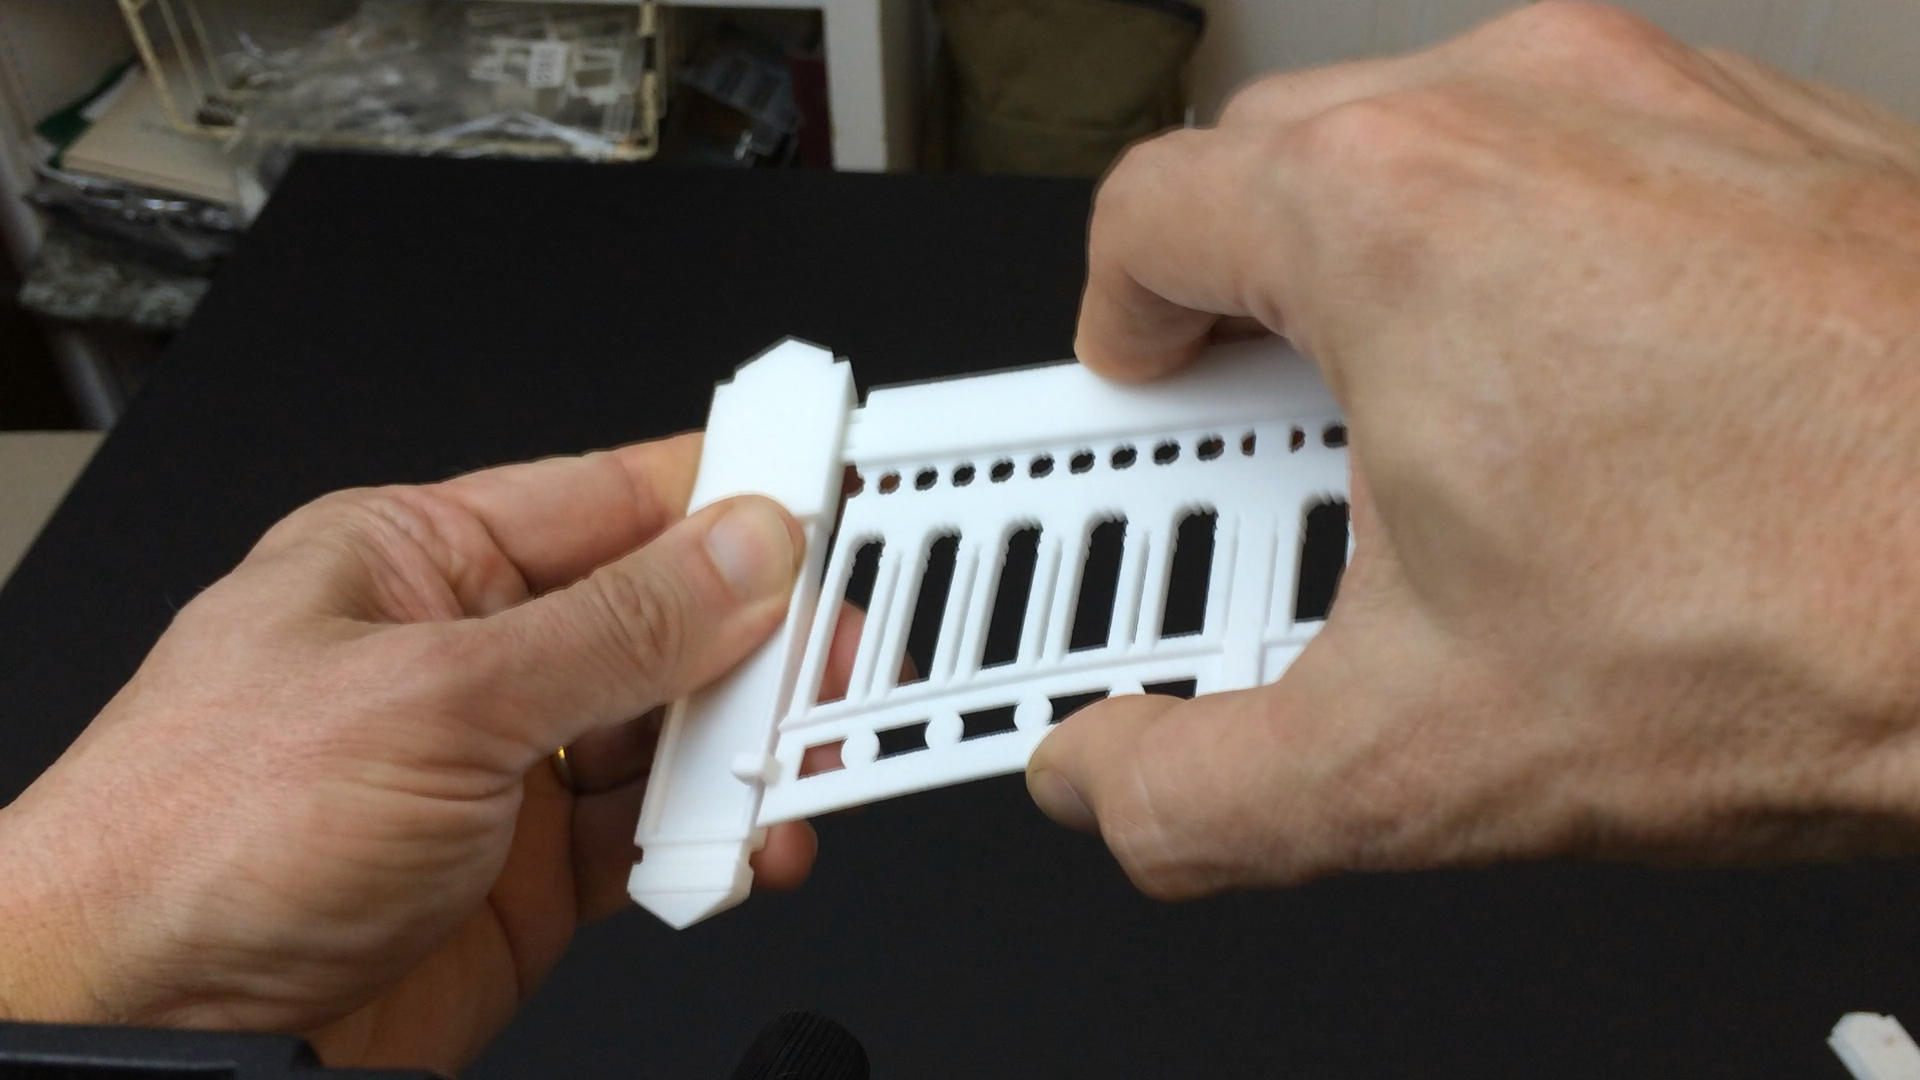
Keeping the alignment clip clear of the stanchion, gently wiggle the trellis piece while pushing the tab into the slot (see image).
If it appears to be taking too much force to get the pieces together, you may want to pull the pieces back apart - wiggle the trellis as you gently pull. Then apply a very thin coat of Vaseline to the trellis tab and repeat the above assembly procedure. When the trellis piece is fully inserted into the stanchion, gently allow the alignment clip to fall over the edge of the lower stanchion piece (see image). Facade mounting Ideas
Mounting on flat surfaces
Facade alignment
If your mounting to a wall, it's a good idea to have a reference line to align to. A laser level is the best way to accomplish this, as it won't leave marks on the wall. If you don't have a laser level, use a carpenter's level/straight edge to draw tick marks to one side, or the other, of where each stanchion will mount and align the top of the trellis to it. Align the trellis sections to the reference line. 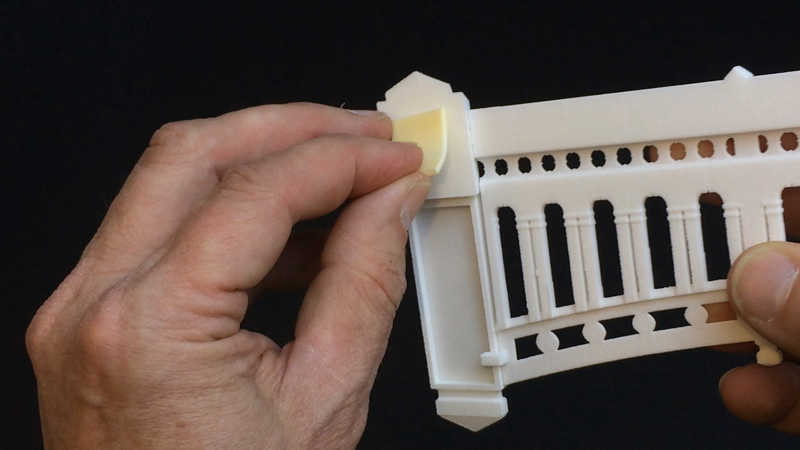 Attach the tape side to the stanchion
Mounting
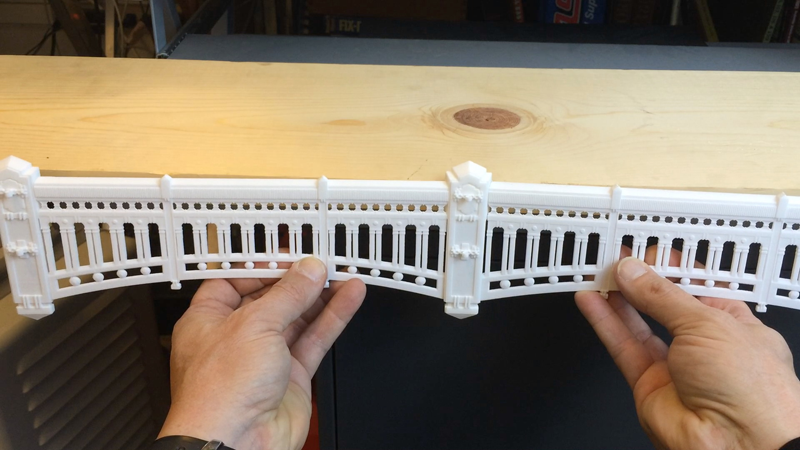 Mounting double facade section on bookshelf, starting with the middle stanchion.
The foam tape is very strong and makes a stable bond when mounted to wood, plaster, or plastic. To remove the facade from a bookshelf edge, just press on the bottom of the stanchion. The tape will separate from the mounting surface, or the stanchion. To remove the facade from a wall, use a flat blade screwdriver to get under the bottom of the stanchion elements. Rotate the screwdriver to pop the stanchion element off the wall. Table top mounts For table top mounts, I recommend using museum putty. You'll need to get a hold of some additional materials:
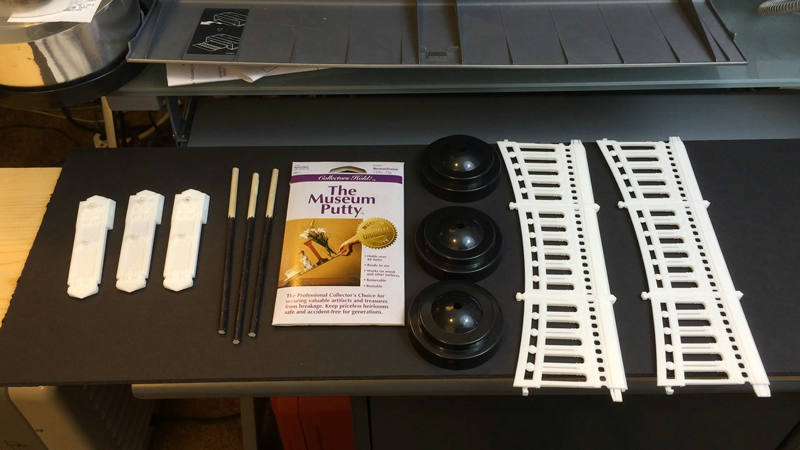 Table top mounting supplies (double trellis shown).
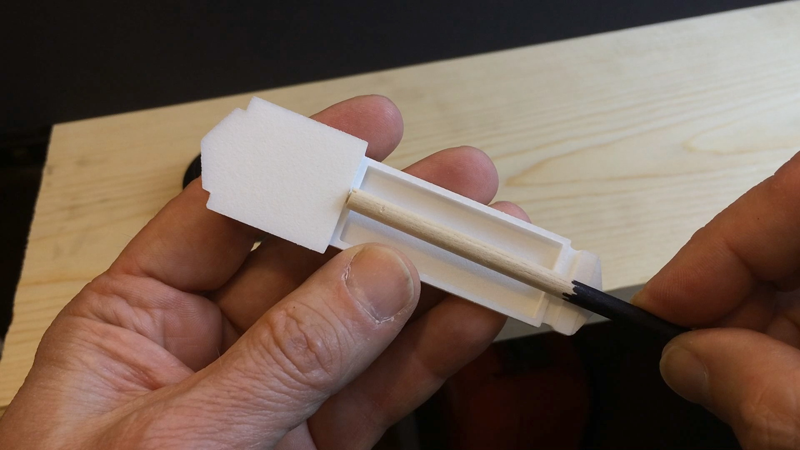 Table top mount, dowel alignment
You'll need to decide how high you want your facade to sit above the surface
of the table, or shelf you want to display them on. The ones shown
here are 6" long - about 2-1/2" of the dowel is hidden
behind the stanchion. The example here is two trellis elements long,
so there are three bases and three 6" dowels required. You
should be able to get dowel material in 4' lengths at your local
hardware store.
Tabletop mount with museum putty
Dowel mounting location, centered on stanchion element.
Place one piece just below the mounting pad (see image) and the other at the bottom of the stanchion (see image). Lightly press the putty in place (see image). 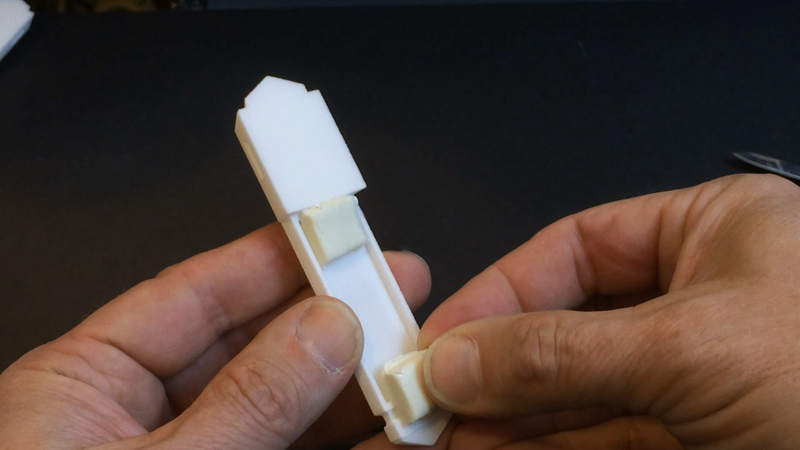 Placing the museum putty on the stanchions.
Take the dowel and align it such that the top of the dowel is just below the overhang of the mounting pad. Make sure the dowel is placed along the center of the stanchion (see image). 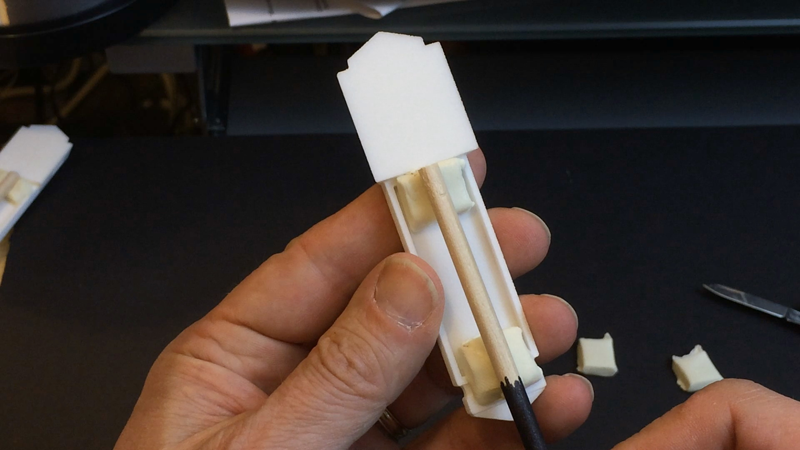 Placing the dowel on the stanchions.
Press the dowel into the putty maintaining the alignment. You can adjust the alignment as required (see figure). 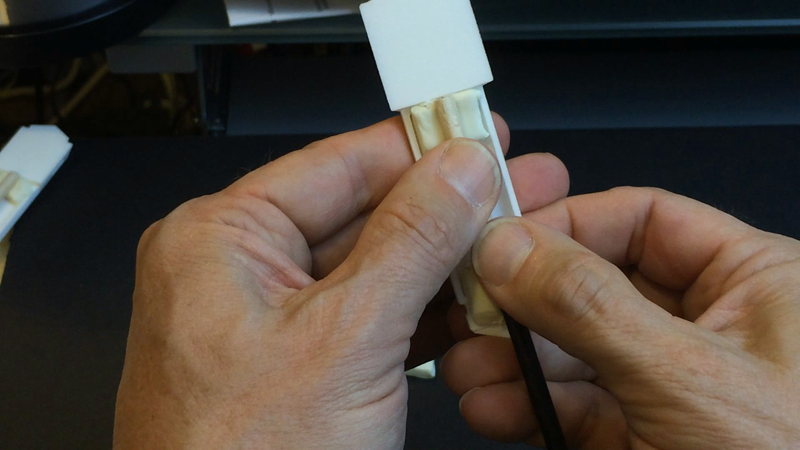 Pressing the dowel into the museum putty.
Repeat the process of as many stanchions as required. 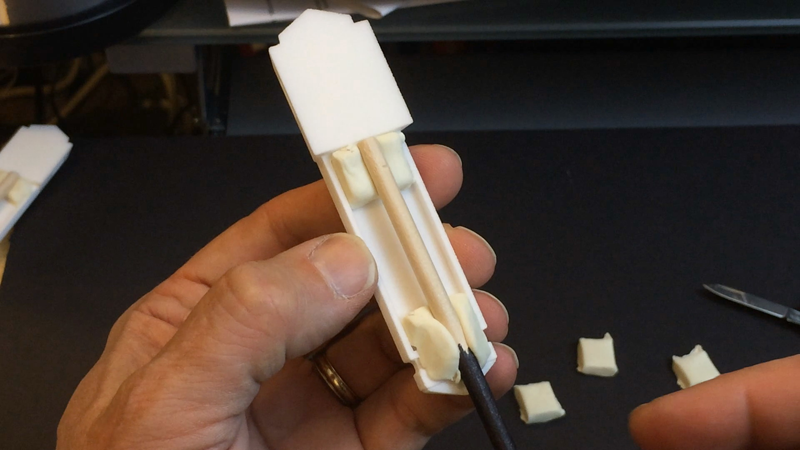 Dowel pressed into the museum putty on the stanchion element.
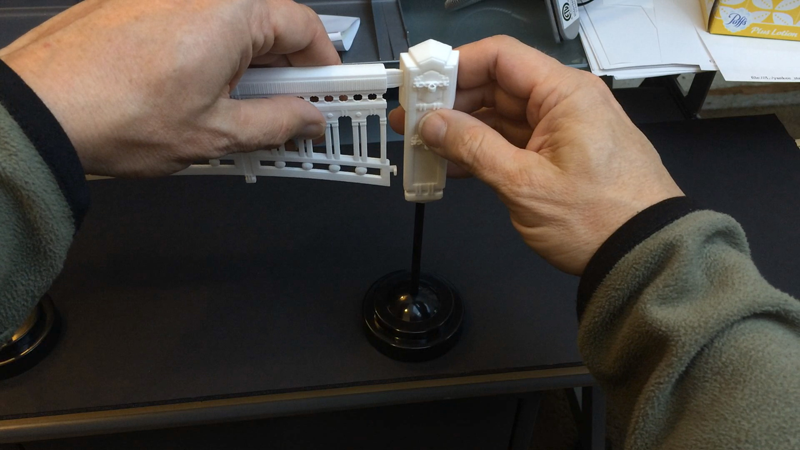
Assemble the flag pole bases and dowel mounted stanchions (see image). Now you're ready to assemble your facade and bases (see figures below).  Assembled stanchions.
 Assembling the facade elements.
 Assembling the facade elements.
 Assembling the facade elements.
Assembling the facade elements.
Assembling the facade elements.
 The Finished assembly.
That's it! Now you can make some flags and add them to your facade elements. | ||||||


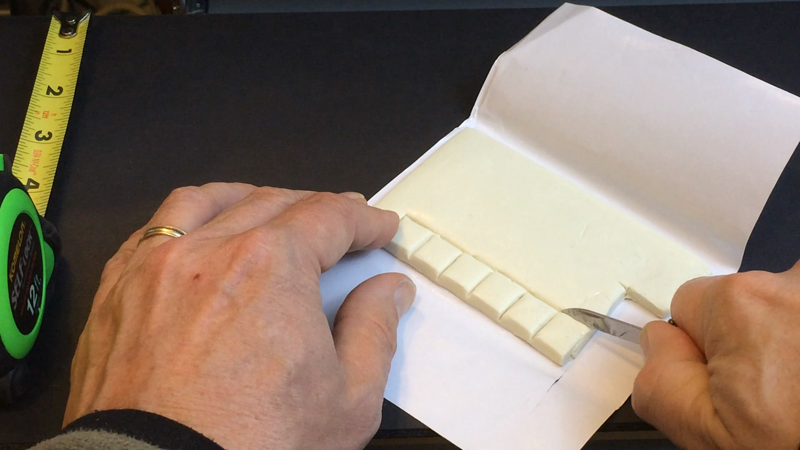 Measure and cut the museum putty